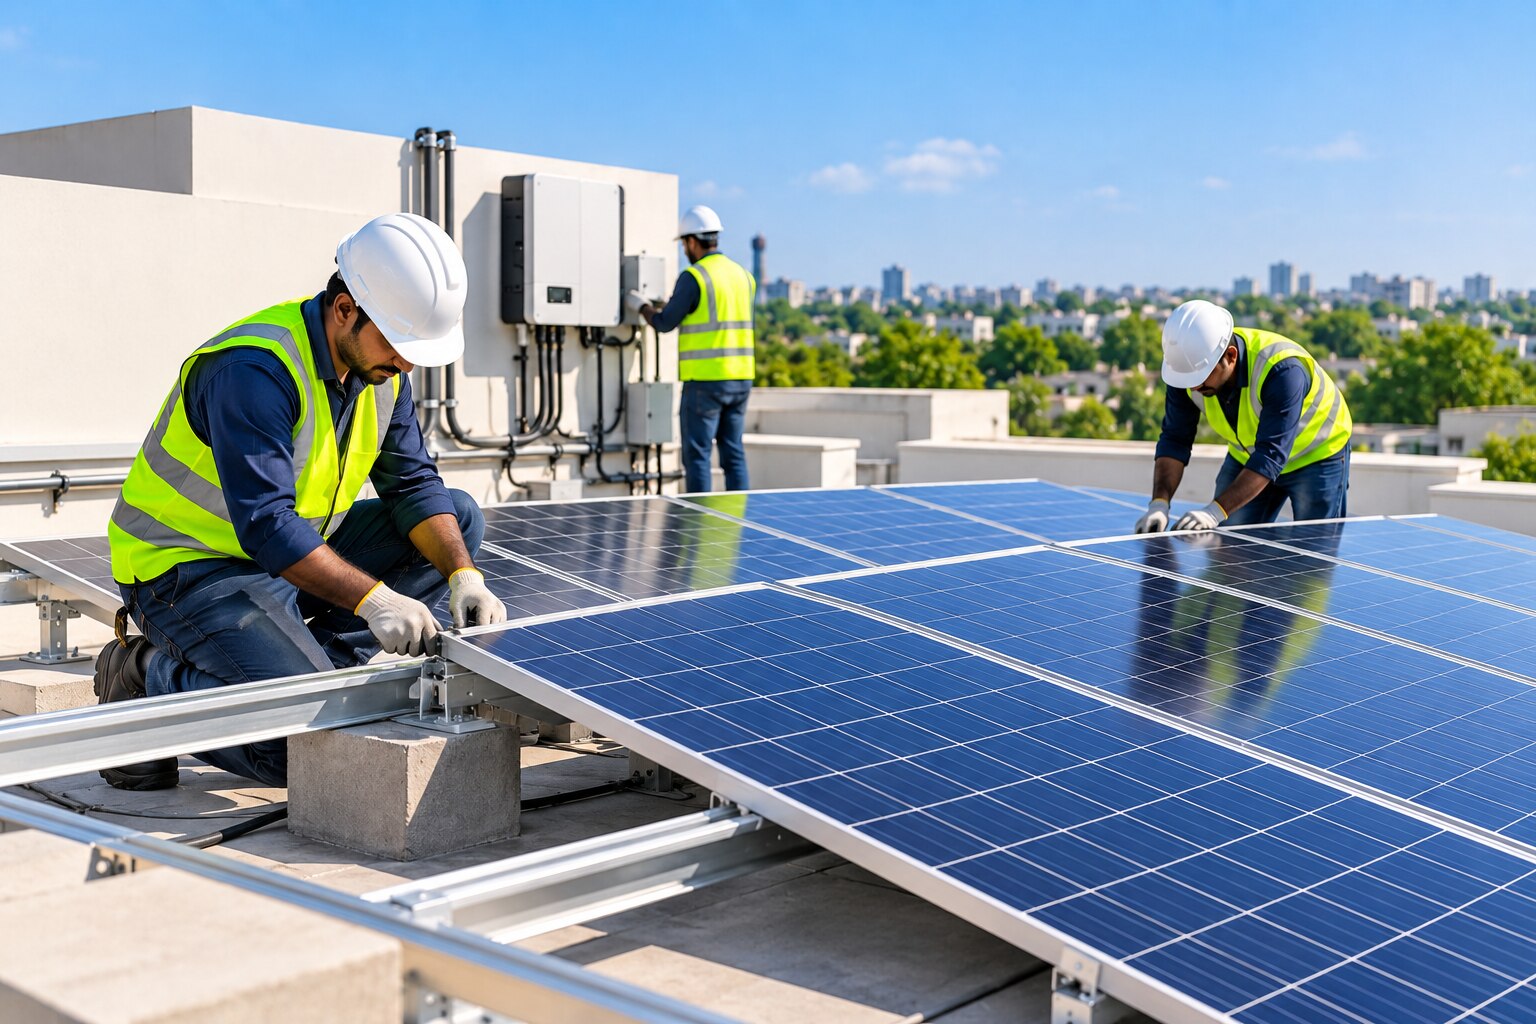
A professional solar installation starts before any equipment reaches your roof: the installer must understand your electricity use, inspect the property, confirm approvals and design around safety, access and future needs. By the end, you should know what to prepare, what decisions require your input, what installation day involves and which documents and tests belong in the handover.
Key takeaways
- Send 12 months of electricity bills before your consultation.
- Give installers roof access, meter details and property documents.
- Confirm system design, quotation, approvals and responsibilities before work begins.
- Expect testing, commissioning, handover documents and guidance after installation.
Prepare Your Bills, Property Details and Access Information
Send your last 12 months of electricity bills before the solar consultation begins. The installer uses consumption history, tariff details and meter readings to estimate system size; roof area alone cannot determine how much electricity you need.
A system matching annual consumption will not eliminate every bill because solar production and household demand occur at different times.
Prepare these items for the consultation and site assessment:
- Electricity bills for the latest 6–12 months, plus interval or smart-meter data if available.
- Your sanctioned load, connection type, consumer number and recent demand details from the utility records.
- Ownership papers, society approval or the owner’s written permission if you rent; include any building or land documents relevant to the installation.
- Roof access information and documents: access routes, locked gates, working hours, roof-use restrictions and contact details for the person who can open the property.
- Photographs or a simple plan showing the main electrical panel, meter, proposed equipment area and possible cable routes.
- Details of outages, generator use, battery plans and appliances that need backup power.
Tell the installer about roof repairs, leaks, extensions, nearby trees and neighbouring structures. A roof near the end of its service life may need replacement first, because removing panels later adds labour and reinstallation cost. Also identify who can answer questions about structural permission, utility approval and access on the assessment day.
See How the Site Survey Determines the System Design
A solar site survey determines whether the property can support panels safely and whether the system will meet your electricity needs. The installer will record:
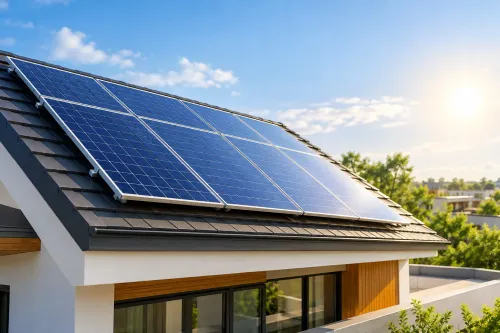
- Roof direction and pitch, usable area, roof age, waterproofing condition and access points
- A shading assessment covering trees, neighbouring buildings and seasonal shadow movement
- A structural inspection for roof load capacity, attachment points and signs of damage
- Main service capacity, meter and panel locations, cable routes, earthing and lightning protection
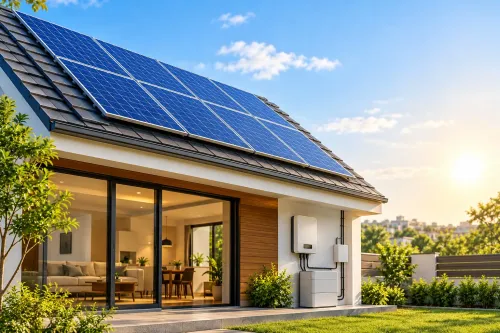
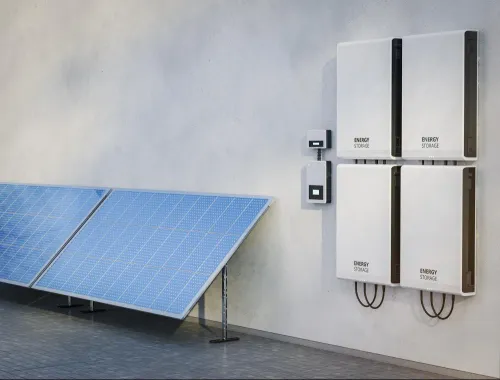
- Suitable inverter and battery locations, ventilation, clearances and protection from water
A roof near the end of its service life may need replacement before installation. Otherwise, removing and reinstalling the array later creates avoidable cost.
| System choice | Survey finding | Likely fit |
|---|---|---|
| Rooftop | Sound roof with adequate area and manageable shade | Panels mounted on the building |
| Ground-mounted | Limited or unsuitable roof, with secure open land and suitable cable access | Panels on a dedicated frame |
| On-grid | Reliable utility supply and acceptable interconnection capacity | Solar offsets consumption while the grid remains available |
| Off-grid | No dependable grid, with space for panels, batteries and backup generation | Independent supply sized for peak loads and cloudy periods |
| Battery-backed | Outage protection required, with space and budget for storage and backup circuits | Selected loads operate during outages |
A standard grid-tied inverter shuts down during a utility failure. Battery backup requires compatible equipment that can isolate approved circuits, and a grid-connected system also needs utility interconnection approval before normal operation.
Review the Design, Quotation, Approvals and Customer Decisions
Do not schedule the work until the design explains what it will power, what it will not power, and which approvals remain outstanding.
1. Check the solar system sizing against at least 12 months of electricity bills or interval data. Compare connected load versus energy consumption: sanctioned load and peak demand determine equipment capacity, while daily and seasonal usage determine expected solar production. Matching annual kilowatt-hours will not eliminate bills if you use electricity after sunset.
2. Ask for a layout showing panel locations, roof setbacks, shading assumptions, inverter position, cable routes, earthing, and the meter connection. The quotation should identify module and inverter models, warranty terms, racking, waterproofing work, monitoring, taxes, exclusions, and the cost of changes caused by roof repairs.
3. Decide whether you need outage backup before accepting an on-grid design. A standard grid-tied inverter shuts down during a utility failure; backup requires compatible batteries and equipment that isolates selected circuits. For off-grid service, confirm generation capacity, charge control, inverter rating, battery autonomy, seasonal reserve, and a contingency generator.
4. Confirm who will obtain the building permit, electrical inspection, net-meter application, and utility interconnection approval. Do not treat an application receipt as permission to operate; ask which inspection or utility document allows normal energisation.
5. Record your decisions in the contract: backup circuits, battery capacity, panel placement, access arrangements, payment milestones, and commissioning tests. Orange Sun Power Solutions should show these assumptions in the proposal so you can compare the promised result with your actual load before signing.
Related products
 | System Intergration - On Grid We develop and commission on-grid MW scale solar power projects on turnkey basis. View product → |
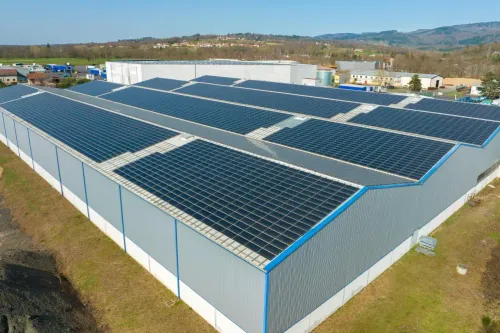
 | Industrial Solar Rooftop An industrial solar rooftop project involves the installation of solar panels on the rooftops of industrial buildings or facilities to generate... View product → |
Know What Happens During Installation and Commissioning
1. On the solar installation day, the crew will protect access areas, confirm the approved layout, and mark panel and equipment positions. They will inspect the roof surface again before installing roof attachments, weatherproof flashing and the mounting structure. Any unsuitable condition should be recorded before work continues.
2. Installers then secure the rails or frames, fit the modules, and route DC cabling and isolators. They will install the inverter in a ventilated, accessible location, connect AC wiring to the electrical panel, and add labels, earthing connections and required safety notices.
3. Ask the crew to verify every cable route, connector, roof penetration, isolator position and panel attachment. Loose fixings, damaged insulation, poorly supported cables or incomplete flashing can cause water entry, electrical faults or difficult future maintenance.
4. Inverter installation and testing must include checks of DC polarity, cable continuity, insulation resistance, earthing, AC voltage and protective devices. The installer should confirm that the inverter starts correctly, reports each connected circuit, records production and shuts down safely when utility power is absent.
A standard grid-tied inverter will not power your home during an outage unless approved backup equipment and storage are installed.
5. Before acceptance, obtain the inspection approval where required, utility permission to operate for a grid-connected system, monitoring access and equipment records. Watch the system produce power, confirm the monitoring data matches the inverter display, and receive written shutdown instructions, emergency contacts and test results. Do not accept “it is switched on” as commissioning.
Plan for Disruption, Handover and Ongoing Responsibility
The installation schedule is controlled by approvals, equipment availability, weather, roof access and the amount of electrical or structural work required. Rain can postpone roof work, while a delayed meter change, inspection or grid approval can hold up commissioning even after the panels are installed.
Plan for installation disruption, including noise, temporary power interruptions, restricted roof access and workers moving through the property.
At handover, collect the documents and access details you will need later:
- Approved drawings, final equipment list, serial numbers and single-line electrical diagram
- Inspection or approval records required by your local authority or utility
- Test results for insulation, polarity, protection devices, earthing and lightning protection
- Inverter, battery, controller and monitoring manuals
- Solar monitoring login, shutdown instructions and emergency contact details
- Warranty certificates, installation-workmanship terms and the procedure for raising a claim
- Roof-penetration or waterproofing information, where applicable
The installer should demonstrate normal operation, shutdown, fault indications and production-data readings rather than simply switching on the inverter. Ask who handles roof leaks, equipment failure, monitoring failure, and removal or reinstallation during repairs.
Your ongoing responsibility includes checking solar monitoring for unexplained production drops, keeping vents and equipment clear, controlling vegetation and arranging cleaning when dust, bird droppings or pollen materially reduce output. Inspect visible cables and roof areas after severe weather, but do not open electrical enclosures yourself.
Keep records of servicing because warranties and maintenance obligations often differ for modules, inverters, batteries, mounting hardware and workmanship.
Frequently asked questions
What information should I provide before a solar consultation?
Provide your last 12 months of electricity bills, tariff details, meter readings, property information and site-access instructions.
How does the site survey affect solar system design?
The survey checks roof area, orientation, shading, structural conditions, cable routes, meter location and available installation space.
What should I review before approving a solar installation?
Review the system capacity, equipment specifications, quotation, warranty terms, approvals, payment schedule and decisions affecting the final design.
What happens during solar installation and commissioning?
The team installs mounting structures, panels, inverter, wiring and safety equipment, then tests the system and explains its operation.
What should I expect after installation is complete?
Plan for short-term access or power disruption, then collect commissioning records, warranties, manuals, monitoring details and maintenance responsibilities.
Related products
 | Residential Solar Water Heater Residential Solar Water Heater A residential solar water heater is specifically designed for use in homes to provide hot water for domestic purposes. View product → |
 | Residential Solar Rooftop We also have the largest private solar bungalow installation and are the most advanced in constructing and maintaining Bungalow aesthetics. View product → |
 | System Intergration - Off Grid System Intergration - Off Grid We offer turnkey solutions to our customers. This entails feasibility studies, a design of demand specific systems, installation and maintenance of... View product → |
 | Solar Panels We have wide range of solar panel. Solar Tie Grid System, Solar Street Light System, Solar Off Grid System, Solar Water Heater, Solar Pump. View product → |